


![The Best Ice Cream Makers for Summer 2025 [Tested and Reviewed]](/wp-content/uploads/2024/05/The-Best-Ice-Cream-Makers-for-Summer-2024_TKP22_Ice-Cream-Makers_DR_05_10_2b_FT.jpg?resize=72,72)


Got your eye on a new gadget this summer? Learn how to use an ice cream maker so you can make delicious frozen desserts from scratch.
Our editors and experts handpick every product we feature. We may earn a commission from your purchases.Learn more.
Got your eye on a new gadget this summer? Learn how to use an ice cream maker so you can make delicious frozen desserts from scratch.
Our editors and experts handpick every product we feature. We may earn a commission from your purchases.Learn more.
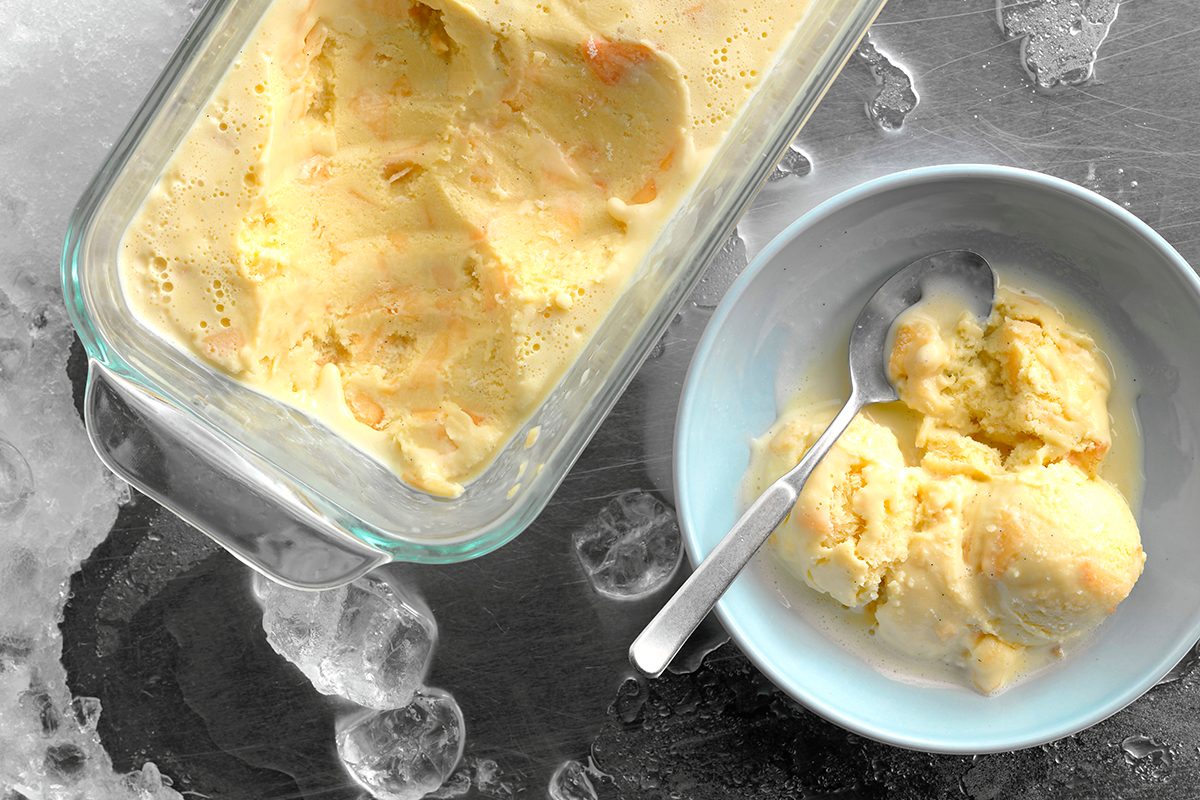
In the heat of summer, there’s no treat more satisfying than a scoop of homemade ice cream. Sure, it takes a bit of extra effort, but the results beat any novelty from the ice cream truck.
The first step to making this decadent treat, though, is learning how to use an ice cream maker. Once you master your new gadget, you’ll be on your way to a double scoop of scratch-made chocolate ice cream.
Before you learn how to use an ice cream maker, it’s important to know that there are different kinds out there—all of which make tasty frozen treats.
Of course, there’s more to consider than just methodology, Here’s what you should consider when you’re shopping for an ice cream maker:
But if you really want to know which model to buy, be sure to check out the best ice cream makers. We found the best options no matter your preferred method.
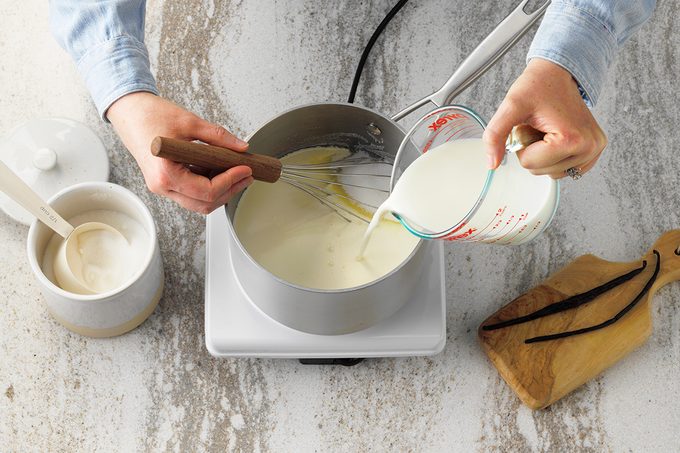
No matter what machine you use, the place to start is with your ice cream base or custard. This is the liquid mixture that gets churned into creamy, cold ice cream.
You’ll find that recipes vary, but most contain these basic ingredients: cream, milk and sugar. You may see recipes, like this best-ever vanilla ice cream from Taste of Home‘s very own ice cream fanatic Peggy Woodward, that contain eggs. This technically makes the ice cream a frozen custard. All that means is that this treat turns out extra creamy and smooth.
These ingredients (and other additions in your recipe) are heated until thickened, then chilled before churning. For best results, Peggy recommends letting your ice cream base cool in the fridge overnight. This will help improve flavor and texture. Once made, use your ice cream or frozen custard base in any of these ice cream machines, add a fresh waffle cone using a waffle cone maker, and its ready to serve!
Be sure to follow a few more of our Test Kitchen’s ice cream tips for the best possible ice cream.
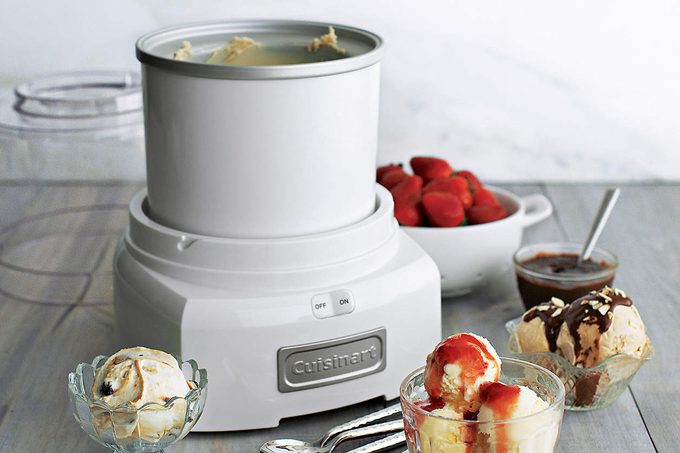
These machines are the most common household models. You can find great options for under $100 at many kitchen shops. Our Test Kitchen’s go-to ice cream machine is made by Cuisinart.
To use this type of machine (and other similar models), you need to freeze the canister for at least 15 hours. It’s a good idea to just stash this in the freezer when it’s not in use so you can make ice cream anytime.
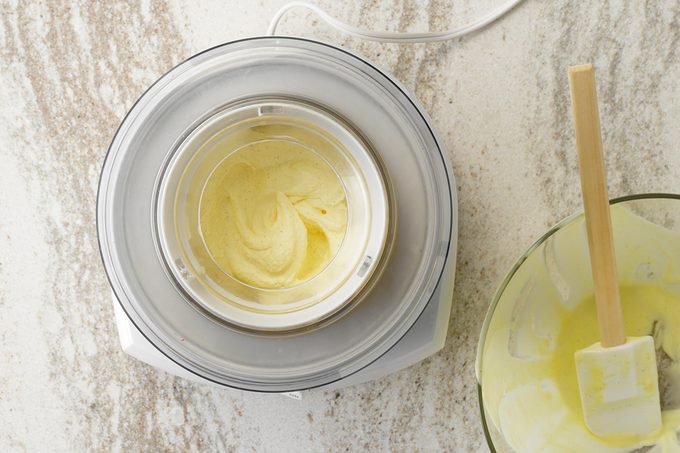
Once frozen, set the canister onto the base, add in the churning paddle and top with the lid. Just flip the switch and slowly add in your ice cream mixture. After about 20 minutes, you should have a soft ice cream that’s ready to firm up in the freezer.
Transfer the ice cream to a freezer-safe container (do not store it in the canister). Our editors like these Tovolo ice cream containers for homemade ice cream storage. They’re one of our must-have summer kitchen items.
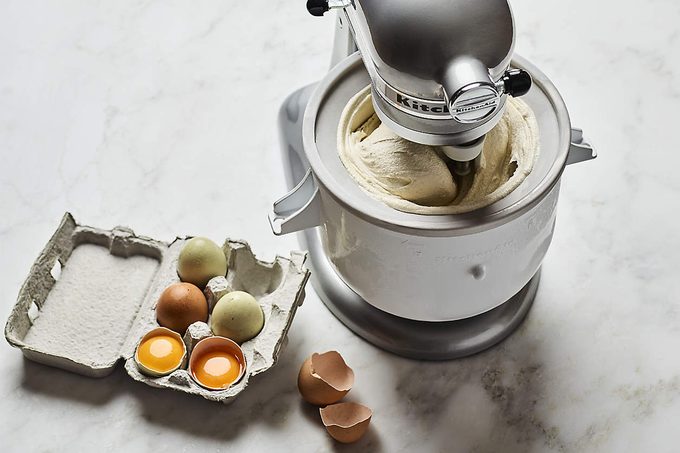
Just like models with a canister, the KitchenAid ice cream maker attachment also needs to be frozen in advance. KitchenAid recommends chilling it for at least 15 hours.
Then fit the paddle attachment into the mixer—just the same way you’d add the whisk or dough hook to your mixer. That’s one of the joys of using this model: If you’re familiar with using your KitchenAid stand mixer, this attachment will be very intuitive to use in your kitchen.
Once everything is fitted in place, turn your mixer onto the lowest setting and gradually pour in your ice cream base. Keep the machine running for 20 to 30 minutes, and voila—ice cream!
For best results, transfer your freshly made treat to a freezer-proof container to chill a bit longer. This will help your dessert firm up a bit.

To use an ice cream maker with a built-in compressor, like this Breville Smart Scoop ice cream maker, you don’t need to prep the machine at all before use.
Simply add the paddle to the bowl, pour in your ice cream base and choose your setting. Machines like this often contain settings for all sorts of frozen desserts including frozen yogurt, sorbet, gelato as well as ice cream. Choose one and push start.
The compressor inside will fire up and chill your dessert to the right temperature while the paddle churns away. It’s really that simple. With this option, you can have ice cream in less than an hour.
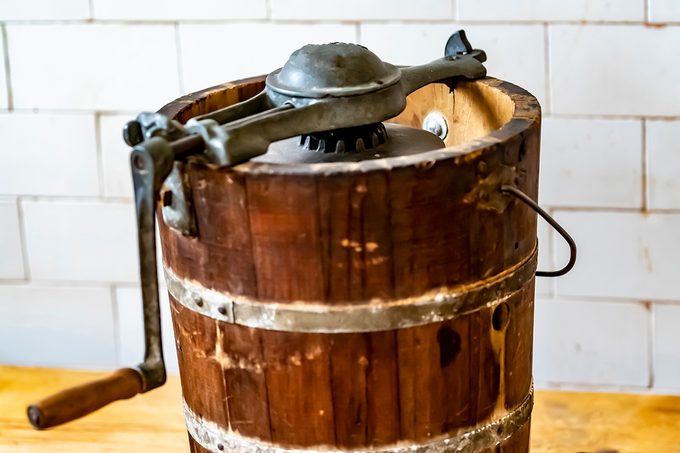
Learning how to use an electric ice cream maker is pretty simple; it’s when you get to the old-fashioned churn models that you might want to take a few notes. These models—which either use a hand crank or electric motor to turn the crank—require a little more effort.
Old-fashioned churns consist of a canister and a dasher (the technical name for the paddle) surrounded by a larger insulated bucket.
To use this type of ice cream maker, fit the canister into the larger bucket. Then fill the bucket a little over halfway full with ice and add rock salt. Immergood, who makes one of our favorite manual ice cream churns, recommends two cups of rock salt. This will help the ice cream achieve the right consistency.
Then all that’s left to do is insert the dasher, fill the canister with cream and turn the crank. If you’re doing this process by hand, this should take about 30 minutes. It’s hard work, so be sure to get the kids, friends and neighbors involved. The reward is a generous scoop of freshly churned ice cream. For best results, use one of our editors’ favorite ice cream scoops.
Taking care of your ice cream maker isn’t too hard. For electric models, you can wipe the outside of the appliance with a cloth spritzed with a little all-purpose cleaner. That should work just fine to keep the exteriors of the machines looking great.
As for the internal components, wash as recommended by the manufacturer. Many ice cream canisters have a nonstick coating, so be sure to wash those parts by hand. Also, be sure not to use metal utensils in these containers.
Once you’re bitten by the homemade ice cream bug, you’ll want to use your new gadget as much as possible. Try these recipes.